A portrait lighting setup that survives every studio
The single three-light setup I use 80% of the time — and the small tweaks that make it work for any face.
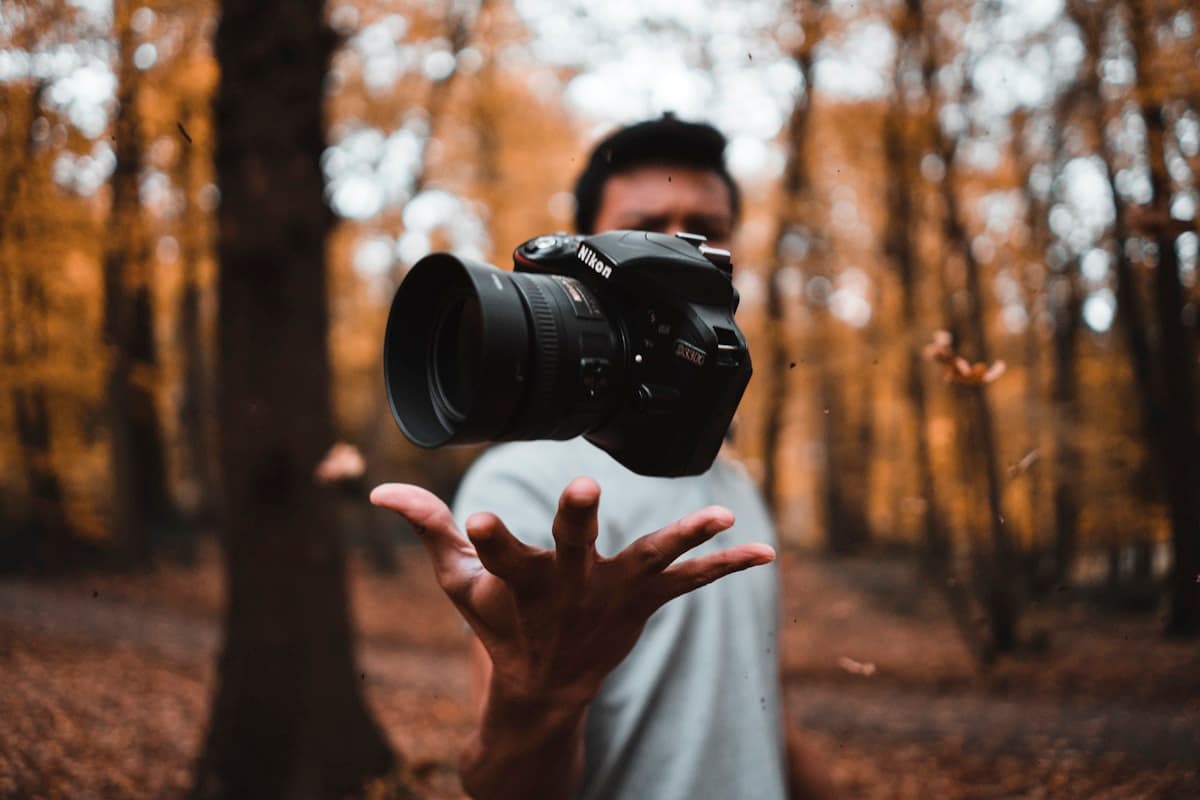
If you only learn one studio portrait setup, learn this one. It works for editorial, branding headshots, fashion, and most commercial portrait work. It costs almost nothing in time and gives you a frame that reads as intentional — never accidental.
The setup
Three lights. That's it.
- Key light. Large softbox (90cm or bigger), camera-left, slightly above eye level, feathered so the edge of the light skims the subject's far cheek.
- Fill. A 5-in-1 reflector — silver side — camera-right, just below the subject's chest, angled up. It does the job of a second strobe at a fraction of the complication.
- Rim light. A small strip box or bare-bulb head, behind the subject and slightly above, on the opposite side of the key. It separates the subject from the background — the most underrated thing in studio portraiture.
That's the whole shape. Three lights, one reflector, no umbrellas, no constant lights. The setup takes me eleven minutes.
Why this works for every face
Most "rules" of portrait lighting fall apart the second someone with a non-standard face geometry walks in. Round faces narrow under flat light. Long faces stretch under hard light. Strong jawlines disappear under wraparound key.
This setup is forgiving because the key is feathered, not pointed. The light intensity falls off across the face naturally — round faces get sculpted, long faces get filled, strong jaws get a hint of shadow without losing them entirely.
Three small tweaks I make per subject:
- Distance of key light. Closer for softer falloff (round faces), further for harder shadow (long faces).
- Reflector angle. Higher angle for sharper jaw, lower for softer fill.
- Rim brightness. Strong rim for darker backgrounds, almost-off rim for white backgrounds.
That's the whole adjustment loop.
Where most setups go wrong
The mistake I see most often is people lighting the background before they light the subject. The background is supposed to support the portrait — it's the wall behind the actor, not the actor. If you can't tell what the background was lit with, you did it right.
Light the face. Add separation. Stop.
Try this tomorrow
Set up the three lights exactly as above. Photograph someone for ten minutes — same pose, same expression, same frame. Now move only the key light: closer, further, higher, lower, more feathered.
You'll watch the same face become five different portraits. That's the entire skill. Everything else is taste.
Written by
Uzair Aziz